We've tried to make the use of the inventory as streamlined as possible and the instructions for use as self-contained as possible. But please don't be hesitant to ask for help.
Screencast demonstration for using the inventory in the lab
Screencast demonstration for using the inventory on your own computer
How to get the practice problems
You can copy the starter code and the test cases for levels in the inventory
the same way you can get starter code for labs and projects.
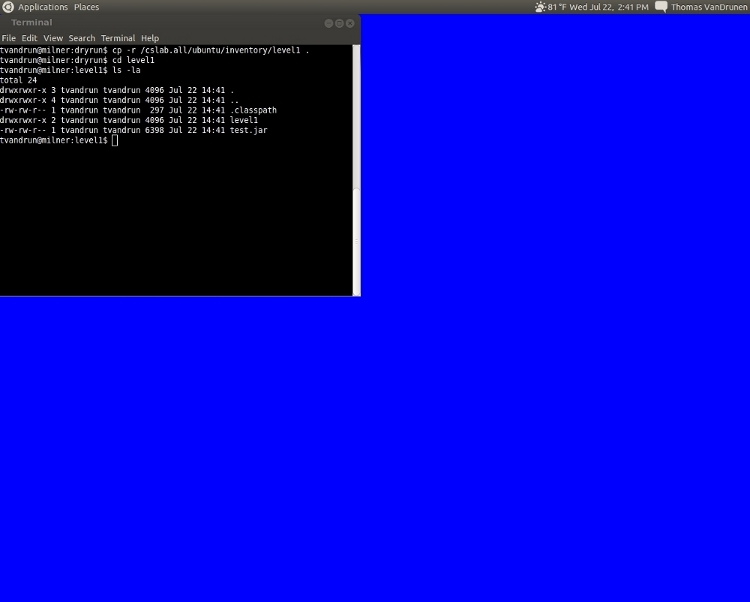
For level 1, for example, go the folder in your account where you want to
work and copy the folder /cslab/class/inventory/level1.
The code you're given will be in a sub-folder called level1
where you'll find the Java files.
The test cases are in the Jar file test.jar;
we're not giving you the source code for the test cases.
While it's easier to do things in the lab, you may choose to do the practice
problems on your own computer if it's more convenient.
You can copy the files similarly to do you would in the lab using a tool like
scp.
In these examples, I'll use gracehopper as the sample user;
replace that with your usernname.
For example, on a Mac you could use the console window like you would use
the terminal in the lab.
The command to get Level 1 is
scp -r gracehopper@csgate.wheaton.edu:/cslab/class/inventory/level1 .
Alternately you could download a tar file containing the code for that level from the inventory website. The screen cast for using the inventory at home shows how to get the code that way.
How to use the inventory
Start Eclipse. If you have never used Eclipse before, you may want a friend to help you find your way around. Using the inventory requires only the most basic familiarity with Eclipse, specifically how Eclipse organizes things into workspaces and projects. You probably want to have a separate workspace for inventory practice problems. Each level will be a separate "project" in that workspace.
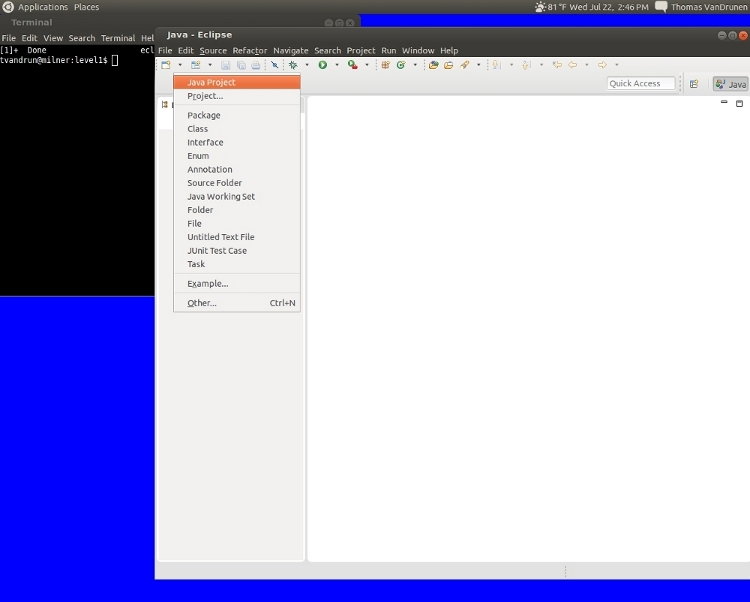
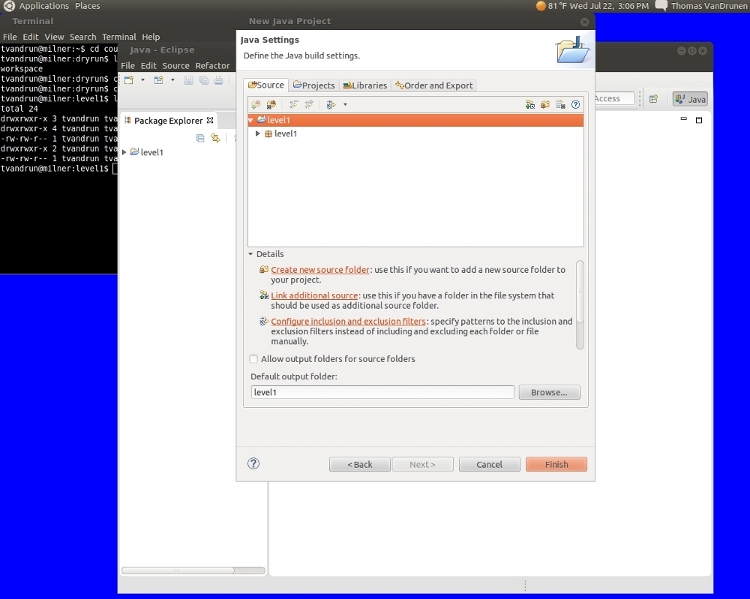
Once you're looking at the workbench, select "Java Project" from the "New" icon in the upper left corner.
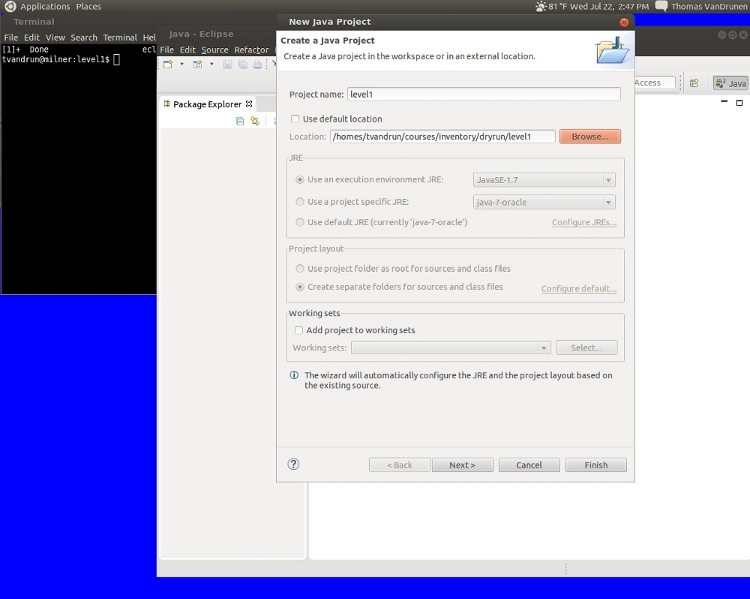
That will start the "New Java Project" wizard. Give a name for the project (eg, "level1"), uncheck the "Use default location", and instead give as the location the folder for that level.
Don't click "Finish", go to "Next>". Make sure the second page of the wizard looks something like this (level1 Java-folder with a level1 package in it). If it doesn't, ask for help.
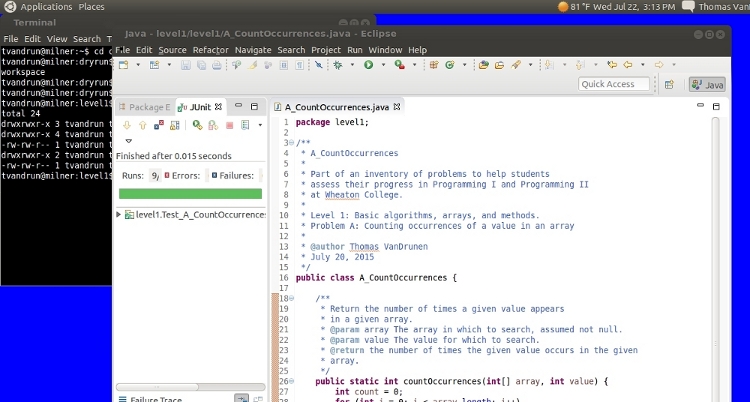
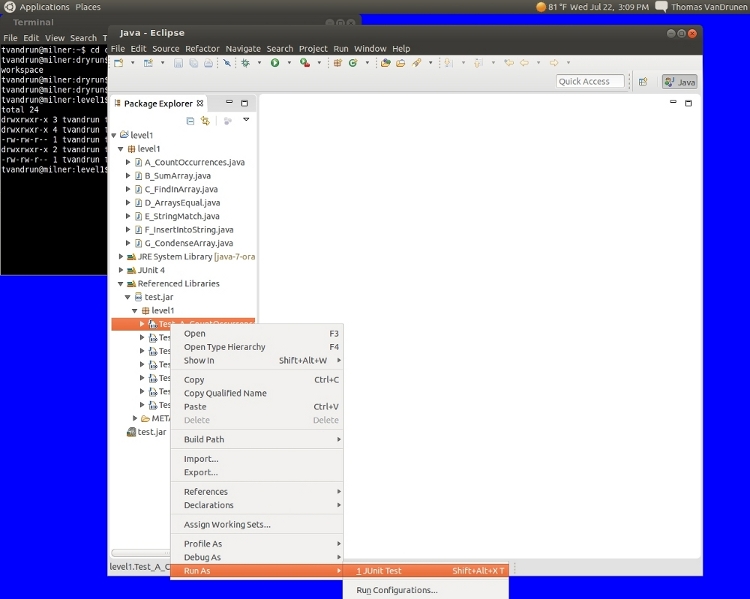
Before we try a problem, let's find the JUnit test that will test whether your solution is right. Expand "level1->level1" to get "level1->level1->Referenced Libraries->test.jar->level1->Test_A_CountOccurrences", as seen here:

Let's run the test. It might seem funny to run a test for a problem before you've attempted to solve it, but we're making sure everything is set up right. We want to make sure that the test fails before we write the code it's testing (otherwise there's a real problem). On "Test_A_CountOccurrences", right-click to the a pop-up menu and select "Run As->JUnit Test".
This will bring up the JUnit tab and run the testcases. The red progress bar means that the tests fail.
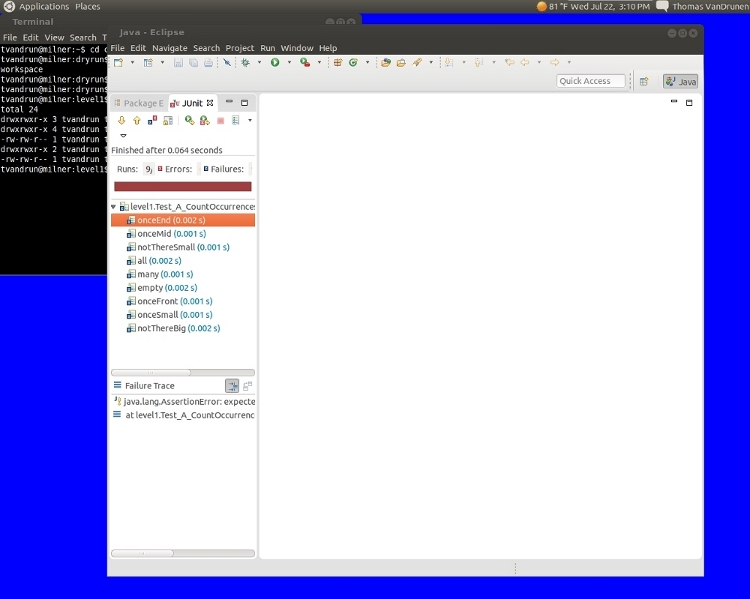
The individual testcases ("onceEnd", "onceMid", etc) are listed.
They're all marked blue, which means that they failed because the
countOccurrences method returned the wrong result
each time.
If any are marked red, then that means they failed because an exception
was thrown.
Ones marked green pass.
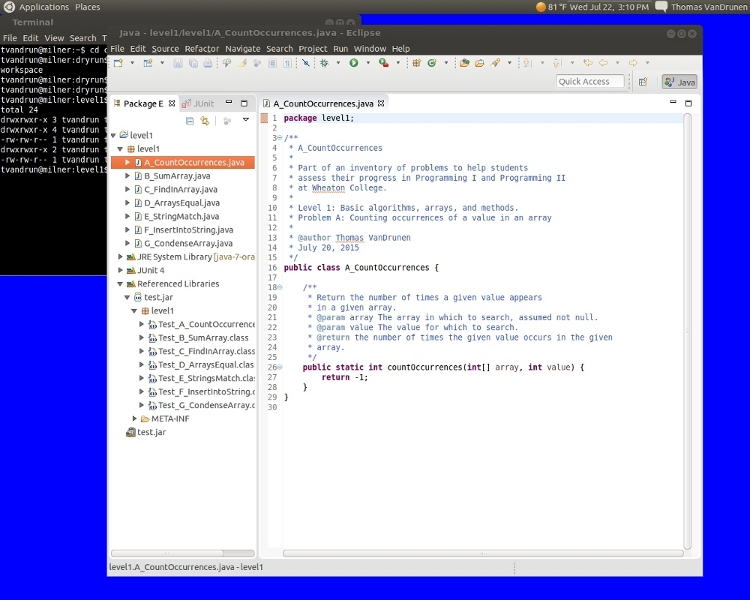
Now go back to the "Package Explorer" tab
and open A_CountOccurrences.
Now you're ready to do the practice problem. When you're done, go back to the JUnit tab and run the tests again. If you've gotten it right, this is what you'll see: