The goals of this project are to re-familiarize yourselves with common ADTs, to begin thinking about implementation questions, and, generally, to review Java programming.
This project typifies how projects will tend to be like in this course (except that subsequent projects will tend to be more difficult): Implement a data structure or algorithm (or series of data structures and algorithms), testing them with given test cases. You are also encouraged to add more test cases---the test cases I give you will generally be a subset of the ones I will actually use when grading.
Copy the given code for this project from
~tvandrun/Public/cs345/proj1:
mkdir proj1
cd proj1
cp -r ~tvandrun/Public/cs345/proj1/. .
I won't normally give you the copying command---I figure you know how
to do this by now---but I included it this time because it is slightly
different from what I usually suggest in Programming II projects.
Notice that the source ends with a . rather than
with a *.
This results in copying hidden files as well.
In this case it copies the hidden .classpath file
which indicates to Eclipse to have the JUnit libraries
in the build path out-of-the-box.
Start a new project in Eclipse.
Recall that the way I recommend setting up Eclipse projects is
to de-select "Use default location" and instead
put in the "Location" field the folder that contains
the code you copied (in the steps given above, that would be
the proj1 folder that you made).
If you have everything set up right then when you click "Next>",
the second page of the wizard should look like this:
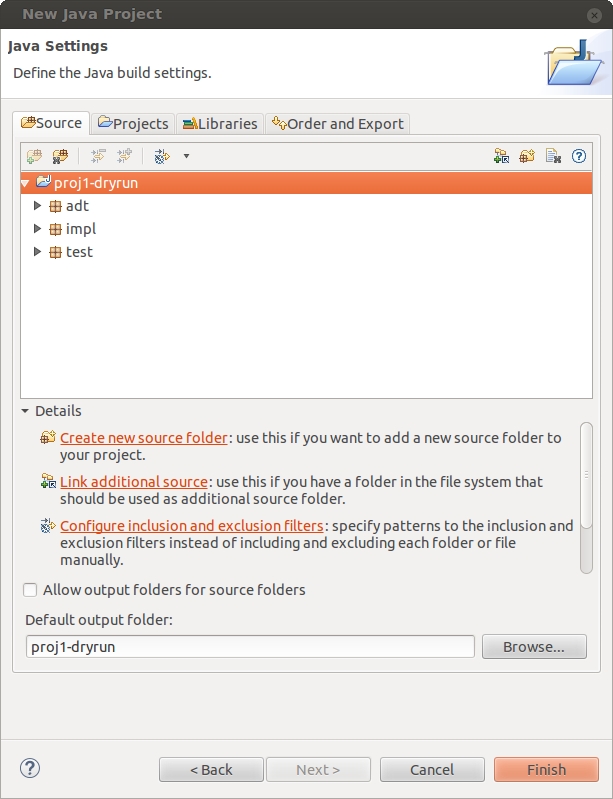
If you know Eclipse very well, then of course you can ignore my suggestions and set up the project any way you want. If you're having trouble, come talk to me and I'll help you get over the hump so you can use Eclipse with more confidence.
The given code contains three packages:
adt, which contains the interfaces defining
our "canonical set" of ADTS;
impl, which contains classes implementing
the ADTs (some of which are stubs you need to complete);
and test, which contains JUnit tests to
verify your implementations.
Specifically, the collection of implementations is
ArrayMap, an implementation of the map ADT
that uses an array (or arrays) as its implementation strategy.
You will need to write this one from scratch---that is, since it uses
an array on the inside, it is not a wrapper
for another implementation.
MapSet, an implementation of the set ADT
that uses a map as its implementation strategy.
You will need to write this as a wrapper for a map.
In theory this could use any map implementation, but it will be
tested using your ArrayMap.
MapList, an implementation of the list ADT
that uses a map as its implementation strategy.
You will need to write this as a wrapper for a map.
In theory this could use any map implementation, but it will be
tested using your ArrayMap.
ListBag, an implementation of the bag ADT
that uses a list as its implementation strategy.
You will need to write this as a wrapper for a list.
In theory this could use any list implementation, but it will be
tested using your MapList.
ListQueue, an implementation of the queue ADT
that uses a list as its implementation strategy.
This is written for you, but it will be
tested using your MapList
(which, in turn, makes it essentially as test for MapList).
ListStack, an implementation of the stack ADT
that uses a list as its implementation strategy.
This is written for you, but it will be
tested using your MapList
(which, in turn, makes it essentially as test for MapList).
The classes you are given to complete already have instance variables. You may add more instance variables (I believe that in some of the classes you will need to add at least one instance variable), but you may not change the basic implementation strategy, described in each task.
In none of these tasks should you in any way change the public interface of the classes, including the signatures of their constructors.
ArrayMapYour first task is to finish
ArrayMap.
For convenience I have provided a nested class for key/value pairs
and declared an instance variable for an array of these.
Also for convenience I have written the constructor to make an
initial array and given a helper method to make the array grow.
You may modify this as long as it retains the basic strategy of using
an array (or arrays).
For example, you may choose to have two parallel arrays (one for keys,
one for values) instead of an array of pairs---but you may not
use ArrayList or any other off-the-shelf component,
and you may not use a linked-list approach.
You can test your class using AMTest;
the code test cases themselves can be found in the parent class
MapTest.
I recommend inspecting the tests to figure out which correspond to
which Map methods and use that to determine
a sensible order in which to implement the methods in
ArrayMap and test as you go.
Again, adding your own test cases isn't a bad idea.
MapSetNext finish MapSet.
You will first need to figure out how a map can be used to implement
a set, but once you have done that this task is "easy."
Keep in mind that although the JUnit test cases will test
MapSet by giving it an instance of
your ArrayMap from last time, the implementation
of MapSet should not depend on the implementation details
of ArrayMap---it should
depend only on the Map interface.
Your implementation must use a Map as its
underlying container (already present in the given instance variable
internal, but you may add primitive-typed
instance variables
if necessary.
(Hint: The second type parameter to Map in the
declaration of internal is String.
That was largely an arbitrary choice.
Almost any class would do.)
Test using MSTest;
the actual tests are in the parent class MapTest.
MapListFinish MapList; similar rules apply.
(Hint: Notice that the key type of internal
is int.
Think about how a map can be thought of as a generalization of a list.)
Test using MLTest, a child class of ListTest.
ListBagFinish ListBag; similar rules apply.
This will be tested using a MapList which in turn uses
an ArrayMap.
Remember that our bag ADT is different from how Sedgewick defines
"bag."
See the given Bag interface for details of the
specification.
Test using LBTest, a child class of
BagTest.
ListQueue and ListStack
The last two are already given to you, but you should make sure that
LQTest and LSTest run correctly
using your MapList as the underlying implementations
for these two classes.
Copy the files you modified (ArrayMap,
MapSet, MapList,
and ListBag) to a turn-in folder:
cp (filename) /cslab.all/ubuntu/cs345/turnin/(your id)/proj1
Due Monday, Feb 2, 5:00 pm.